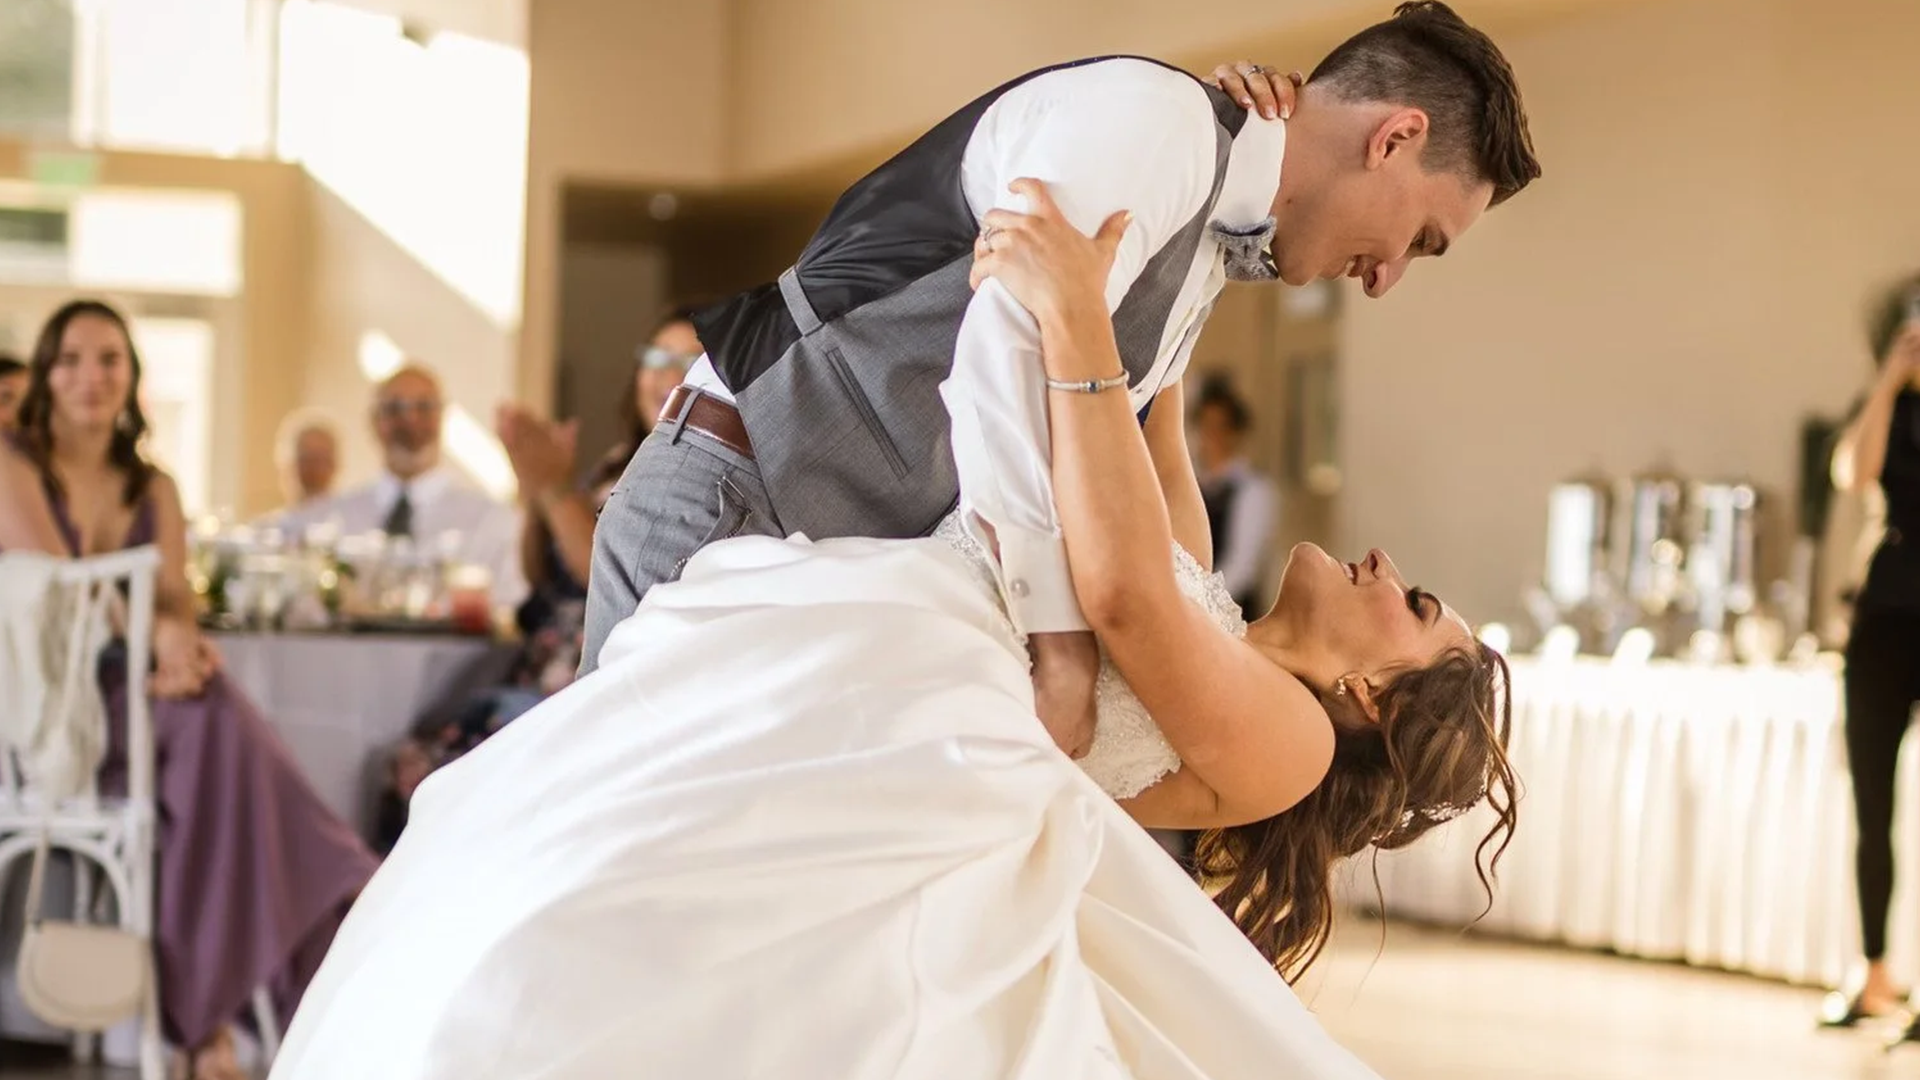
The dip is one of the most iconic moves in a first dance – romantic, dramatic, and a definite crowd-pleaser. It’s that moment when one partner gently supports the other as they lean back, creating a picture-perfect finish. But to pull it off smoothly (and safely), it takes more than just confidence.
Both partners need to work together with balance, connection, and trust. The leader offers steady support, usually holding around the waist or upper back, while the follower maintains their own balance by holding onto the leader’s shoulder or neck.
Start small. A simple, subtle dip is all you need to begin. As your confidence grows, you can work toward deeper or more theatrical versions, always keeping safety and teamwork at the core.
Why Include a Dip in Your First Dance?
A dip adds that extra touch of drama and romance to your first dance — the kind of moment that makes guests cheer and photographers snap away. It’s a beautiful way to end your routine with flair and create a lasting impression.
More than just a pretty move, a well-executed dip shows off your connection and teamwork as a couple. It’s a crowd-pleaser that works with almost any song or dance style, whether you’re keeping things classic or going full-on choreographed.
Best of all, you don’t need to be a pro to pull it off. With just a bit of practice (and maybe a dance lesson or two), even a simple dip can become a show-stopping highlight of your big day.
Learning the Basics of the Dip
To make a dip look effortless (and feel safe), it all comes down to proper form, balance, and clear communication. When both partners know their role and trust each other, the move becomes smooth, stylish, and fun.
Technique and Posture That Keep You Safe
Start by setting up a strong base. The leader should stand with feet shoulder-width apart, knees slightly bent, and back straight. Instead of bending from the waist, use your legs to gently lower your partner – your core should be engaged the whole time to keep everything stable.
The follower should also engage their core and keep their body supported but relaxed. As the dip begins, the leader supports the follower’s waist or upper back. For a little flair, the follower can extend one leg while keeping the other grounded for balance.
Practising this technique in a lesson helps build muscle memory and gives you both the confidence to pull it off on the big day.
It’s All About Connection and Communication
A great dip starts with a quick check-in. Make eye contact to be sure you’re both ready, and use a cue – like a light squeeze or subtle nod – to signal when it’s time to dip.
Having clear signals and talking through what works (and what doesn’t) builds trust and helps you avoid awkward surprises or missteps. Keep checking in with each other, especially while practicing, to make sure everything feels right.
The more you practice these habits, the more natural they’ll feel – not just for the dip, but for your whole wedding dance.
Step-by-Step Guide to Performing a Wedding Dance Dip
A well-done dip can be the perfect finish to your first dance – elegant, romantic, and photo-ready. But to make it feel as smooth as it looks, it’s important to get the technique and timing just right. Here’s how to break it down, step by step.
Step 1: Prep and Footwork
Before anything else, make sure you’ve got the space. Check the floor for anything slippery or sticky (especially if you’re on a dance floor that’s seen a few spilled drinks).
Wear shoes with good grip and support, especially if you’re in heels or dress shoes.
Start in a comfortable dance with your feet about hip-width apart. The lead should place one foot slightly behind for balance. The follower stands with feet together, keeping their weight even.
When you’re ready, the leader supports their partner’s back and holds their hand securely. The follower can gently rest their hand on the leader’s shoulder or arm for support.
Try walking through the footwork a few times slowly. A simple “one, two… dip” count can help build rhythm and coordination.
Step 2: Know Your Roles
Each partner has a role to play. The leader provides the support and gives the cue for when the dip will happen — usually with a shift in body weight, eye contact, or a subtle movement.
The follower stays relaxed but strong, keeping their core engaged and trusting the lead’s guidance.
Leaders: use one hand to support your partner’s lower back or waist and the other to hold their hand or shoulder.
Followers: focus on staying connected and balanced, and don’t try to dip on your own – the leader will guide you into it.
Step 3: Execute the Dip Safely
Now the moment you’ve been waiting for: the dip itself.
Take it slow and steady, especially if you’re in formal wear. The lead bends slightly at the knees and supports the follower as they gently lean back. Avoid going too deep – a small, controlled dip is safer and often more elegant.
If balance feels off, use both arms to support your partner: one behind the back, one holding their hand or arm. The follower should keep most of their weight over the supporting leg, with the extended leg adding a touch of style.
To finish, bring your partner back to standing with care, keeping your movements smooth and steady. Pause to regain balance if needed, then carry on with the dance.
Tips for Practising and Perfecting Your Dip
✔ Practise Safely at Home
- Clear the area — remove rugs, cables, or anything you could trip on
- Wear comfortable, non-slip shoes
- Start slow and focus on balance, posture, and core engagement
- Communicate with your partner every step of the way
- Use a wall or chair for added support if needed
- Review hand placements to ensure a secure and safe grip
- Talk openly about what feels comfortable for each of you
✔ Use the Dance Floor to Your Advantage
- Visit your venue ahead of time and check out the dance floor
- Practice in a similarly sized space at home
- Take note of where tables, speakers, and obstacles might be
- Decide in advance where the dip fits in your routine
- Rehearse entering and exiting the dip smoothly
- Use your real wedding song for timing and feel
- Angle the dip toward guests or the camera for the best view
✔ Boost Confidence & Stay Calm
- Practice often — confidence comes from repetition
- Master the basics before adding extra flair
- Use a mirror or film short clips to review posture
- Take deep breaths before each run-through
- Talk through nerves with your partner
- Practice in front of friends/family to get used to an audience
- Set small, achievable goals each time you practice
- Consider lessons if you want professional guidance
Common Mistakes to Avoid When Doing a Wedding Dance Dip
✘ Overcomplicating the Dip
- Avoid adding spins, tricky footwork, or fast hand changes too soon
- Don’t combine multiple moves into one — keep it clean and simple
- Focus on timing, control, and staying in sync
- Build from a strong basic dip before adding stylish flourishes
✘ Skipping Proper Technique
- Never lean from the waist or forget to support your partner’s back
- Use your legs to lower, not your spine
- Keep a firm but gentle grip and maintain a strong frame
- Engage core muscles and keep your posture upright
- The follower should keep their weight balanced with one leg extended for style
✘ Forgetting About Clothing and Environment
- Test your dip in your actual wedding shoes and outfits
- Be aware of long dresses, heels, tux jackets, or anything restricting
- Check the floor — is it slippery, uneven, or tight on space?
- Practice on a similar surface if you can’t access the venue
- If needed, go for a shallower dip or adjust your angle for safety
Ready to dip with confidence on your big day?
Book a lesson with The First Dance and let us help you perfect your first dance — dips, spins, and all. Whether you’re beginners or just need a little polish, we’ll guide you every step of the way.